It was so much fun to be invited to play Cristin (of Cristin’s Cookies)’s cookie cutter challenge. She made this adorable pink (of course!) cookie cutter and sent it out to each of us, asking us to create what we saw in the cookie cutter. The only rule was that we couldn’t share our design with anyone except Cristin until we all posted them together.

When I got my cutter, I immediately saw something in it. Then I turned it upside down and saw something else. It took me a while to get a chance to make my cookie, so I was one of the last to submit my picture. I couldn’t believe, as Cristin was receiving the pictures and raving about how different each design was, that there was any other way to make these cookies. I couldn’t see anything other than “this” when I held it in one direction and “that” when I held it in the other.
Here is “this”
I call her “Abigail the Snuggle Bug”. Named after Cristin’s snuggly little granddaughter, wearing Cristin’s favorite colors.
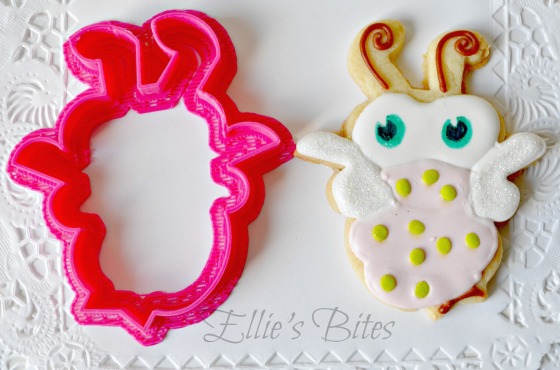
Here is “that”

This one is Baby Ladybug Girl, inspired by this cookie that I made for Cristin’s virtual grandbaby shower based on the book “Ladybug Girl” by Jacky Davis and David Soman. I loved this idea, but I wasn’t happy with the way my Wilton black sugar pearls bled into the red.
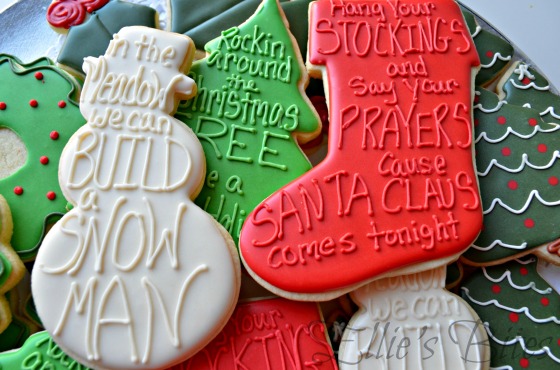
And here are 15 other interpretations of the same pink cutter.
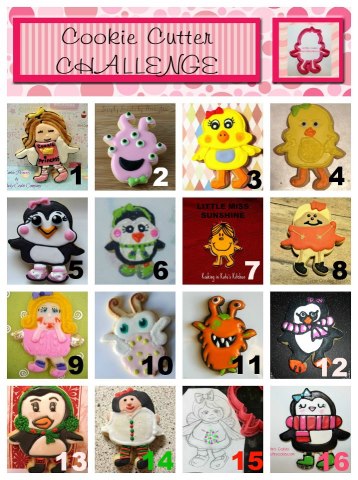
Cookie Cutter Challenge
#1 – Aymee of Wacky Cookies – www.wackycookies.com
#2 – Melissa of Simply Sweets by Honeybee – www.simplysweetsbyhoneybee.com
#3 – Tiffany of Tiff’s Tasty Cookies – www.facebook.com/tiffs.cookies
#4 – Ansa of Sweet Treats by Ansa – www.sweet-treats-by-ansa.com
#5 – Shannon of The Sweet Shop Cookie Company – www.facebook.com/thesweetshopcookiecompany
#6 – Kristina of Kristina’s Kreations – http://www.facebook.com/pages/kristinas-kreations/251226944912844
#7 – Kate of Kooking in Kate’s Kitchen – www.kookinginkateskitchen.blogspot.com
#8 – Kim of The Cookie Puzzle – www.thecookiepuzzle.com
#9 – Margaret of Decorated Cookies (dba Edible Canvas Creations) – www.facebook.com/ediblecanvascreations
#10 – Stephanie of Ellie’s Bites Decorated Cookies – www.elliesbitesdecoratedcookies.wordpress.com
#11 – Lene of Not Your Everyday Cookie – http://notyoureverydaycookie.wordpress.com
#12 – Tammy of Fluffybutt Cookie Emporium – www.facebook.com/pages/fluffybutt-cookies/272728056090697
#13 – Laura of Laura’s Cookies – www.facebook.com/laurascookies
#14 – Flaget of Cookies with Love by Flaget – www.facebook.com/pages/cookies-with-love-by-flaget/242124942466772
#15 – Karen of SugarDeaux Cookies & Cakes – www.facebook.com/sugardeaux
#16 – Cristin of Cristin’s Cookies – www.cristinscookies.com